Onboarding
Before you can start managing patients and workflows, you need to set up your Organization (referred to internally as a "Tenant"). This keeps all your clinical data secure and isolated.
Follow these four steps to onboard your clinic.
Step 1: User Sign-Up
To begin, you need a personal Mazecare administrator account.
- Navigate to the Mazecare login portal.
- Click on Sign Up and enter your professional email address and a secure password.
- Verify your email address via the link sent to your inbox.
Step 2: Organization Onboarding
Once logged in, you will be prompted to create your new organization workspace. This multi-step wizard configures the baseline of your clinic.
1. Profile Setup
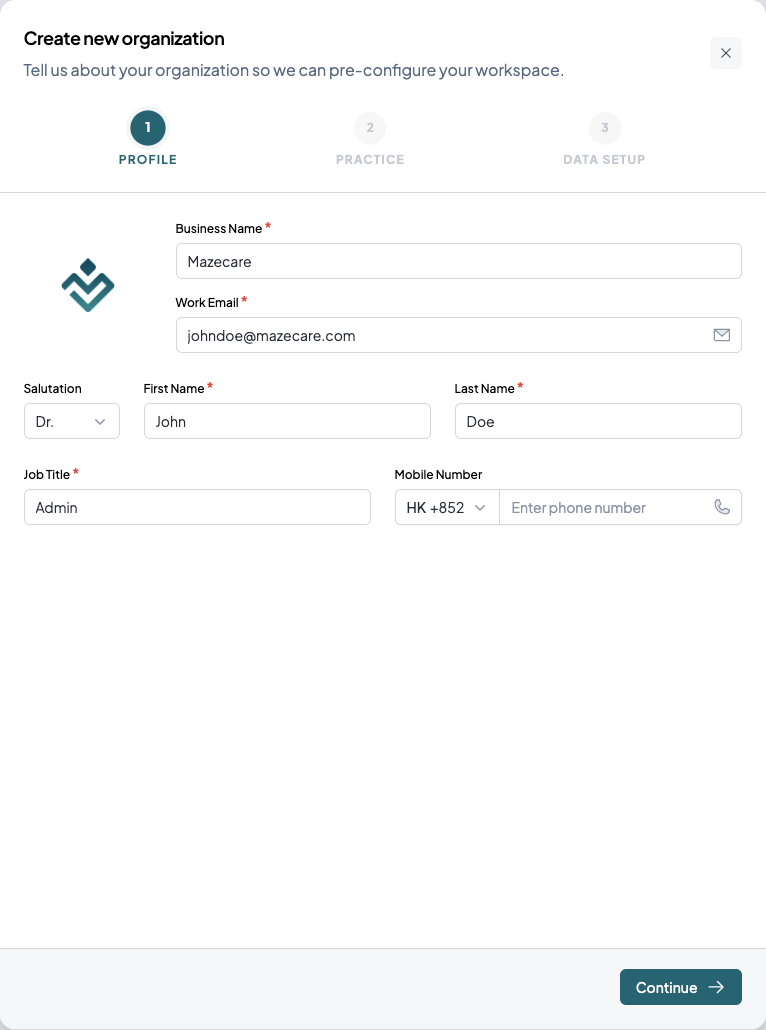
Enter your official Business Name and your personal contact details (Salutation, Name, Job Title, and Mobile Number). This information is used for your initial administrator profile.
2. Practice Configuration
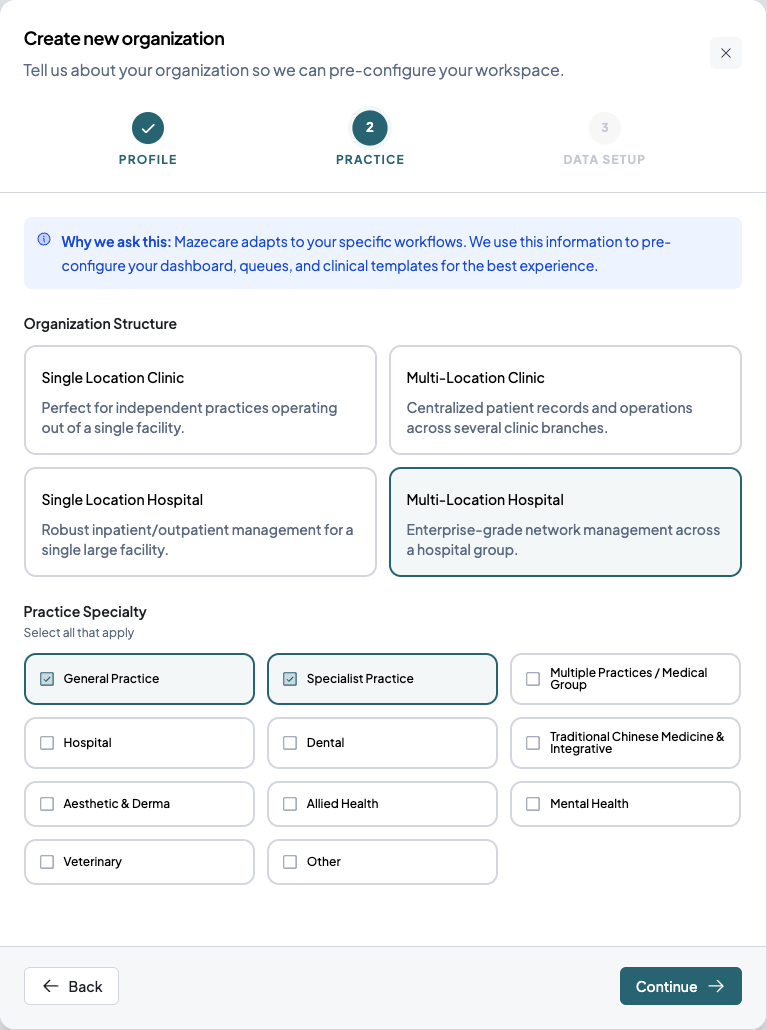
Tell Mazecare how your business operates so the system can adapt your dashboard, queues, and clinical templates:
- Organization Structure: Select whether you are a single-location clinic, a multi-location network, or a hospital facility.
- Practice Specialty: Select all specialties that apply (e.g., General Practice, Specialist, Dental).
3. Data Setup

Choose how you want your database initialized:
- Pre-load with Dummy Data (Recommended for testing): Populates your system with sample patients, appointments, and inventory so you can safely learn the software.
- Blank Canvas: Starts your workspace entirely from scratch. Select this if you are ready to import live clinical data.
Click Launch Mazecare Workspace to complete your onboarding!
Step 3: Global Branch Selection
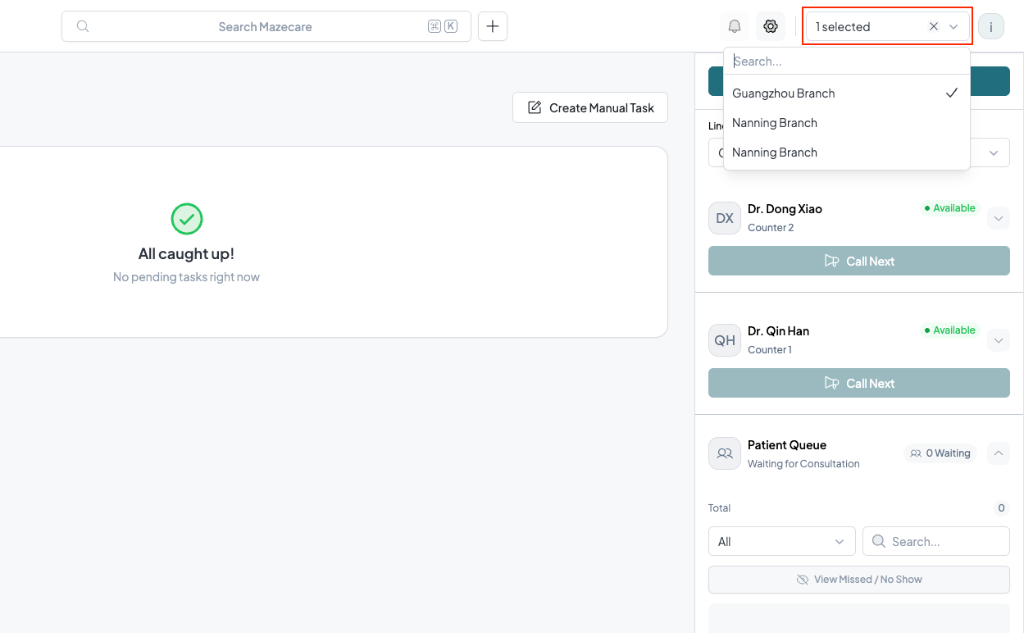
Once you enter the Mazecare platform, you need to select the branch you are actively working in. This sets the context for your active queues, patient visits, and clinical schedules.
- Navigate to the top header menu.
- Click on the Branch Selector dropdown located on the right side of the header.
- Search for your branch name and click to select it (e.g., Guangzhou Branch or Nanning Branch).
Step 4: Dashboard Selection
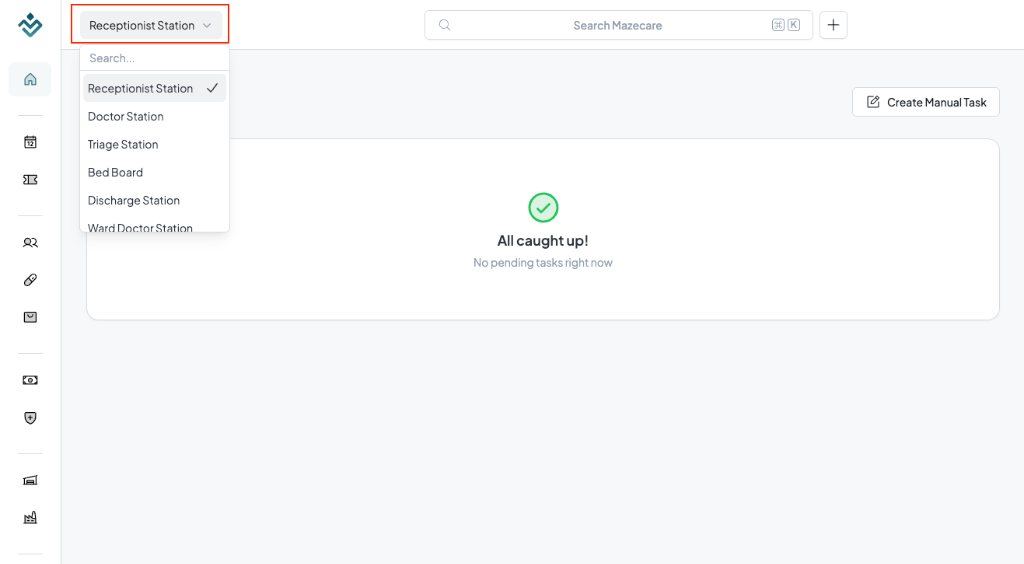
Mazecare allows you to dynamically switch your active workspace view using role-based dashboard presets. Changing presets updates your navigation options and layouts to match your current duties:
- Click on the Dashboard Preset Selector dropdown located in the top-left corner of the header.
- Select your desired clinical or operational workspace preset from the list:
- Receptionist Station: For front-desk registrations, scheduling, and billing management.
- Doctor Station: For charting encounters, writing clinical SOAP notes, and prescribing.
- Triage Station: For nursing stations capturing patient vital measurements.
- Bed Board & Discharge Station: For managing ward occupancies, bed allocations, and inpatient discharge workflows.
Next Steps
Congratulations! You are now inside the Mazecare platform. To ensure your clinic can actually process walk-ins and dispense medications, you must complete the core configuration.
Proceed to Clinic Profile & Settings to set up your physical address and operating hours.